At Zeitspace, we run digital product design and development workshops known as Zeitspace Sessions. These are hands-on learning opportunities where anyone can come out, learn something new, and meet others in the Kitchener-Waterloo tech industry.
In our latest workshop, called Intro to Prototyping with Framer, participants built a high-fidelity, interactive mobile app prototype — specifically, a Facebook clone we affectionately named Zeitbookᵀᴹ.
(Want to get started now? Our step-by-step Framer workshop guide is at the end of this article)
Before we dive into the workshop, let’s talk a bit about the power of high-fidelity prototyping, the current landscape of screen design tools, and an overview of the Framer design tool.
The High-Fidelity Prototype: Fake it till you make it
A high-fidelity prototype is as close as you can get to creating a fully-functional product… without actually developing it. They provide convincing, polished visuals and show real-time interactions, all without spending time and money building real software.
There are lots of benefits to building interactive, high-fidelity prototypes:
- Low cost, quick to build
- Enables user testing early on in the process
- Rapid iteration
- Better collaboration with developers
- Garners interest from users, stakeholders, and investors
- Powerful marketing and selling tool
Of course, there are many other prototyping methods, such as paper prototyping, that require even less time and can be easier to change on the fly. These methods may end up being a better choice depending on your specific project and goals. You could also build both low-fidelity and high-fidelity prototypes at different stages of the design process.
Which Design Tool Do I Use?
There has been an explosion of new screen design tools introduced recently, and there have never been so many options to choose from.
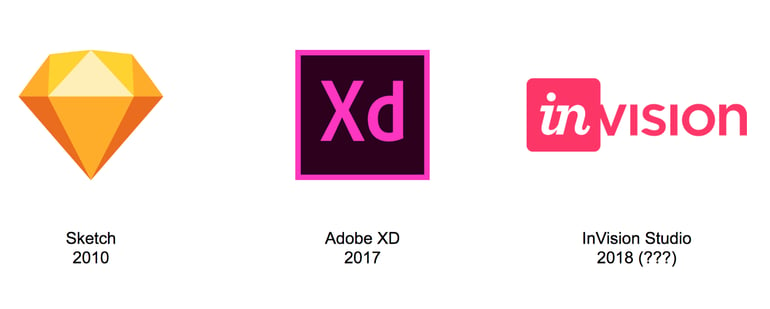 3 popular modern screen design tools
There are many, many design tools that have their own loyal followings: Sketch, Photoshop, Illustrator, Adobe XD, InVision (and InVision Studio), Figma, Balsamiq, Axure, Principle, Origami, etc.
Most of these products allow designers to create static screen designs and basic prototypes. However, there is another tool that offers more advanced prototyping capabilities than these tools listed above.
Framer: Flexible Prototyping
Framer is a screen design tool that looks and behaves very similar to Sketch, but also has a large library of robust prototyping capabilities. The main difference with Framer is that you are prototyping with code.
 Source: https://blog.framer.com/framer-is-now-the-best-tool-for-screen-design-heres-why-ebd9c29b3138
Prototyping with code opens up endless possibilities — like using variables to store information, pulling live data from an API (like weather, GPS location, etc), and creating advanced animations. The list goes on.
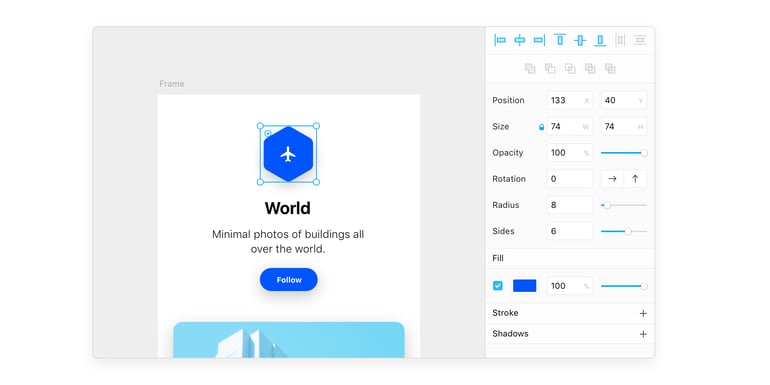
 The “Code” tab in the Framer application (Source: https://framer.com/features/prototype/)
However, for someone who isn’t familiar with programming, there is a bit of a learning curve when it comes to prototyping with Framer.
But don’t fret — to help with this learning curve, Framer provides some great documentation to help those with no prior coding experience. They also have a feature called Auto-Code that inserts snippets of code that change based on sliders and GUI controls.
Framer also has many other notable features:
- Compatible with Sketch
- Adaptive layouts
- Shape, vector, and path editing (SVG) tools
- Device mirror (view your prototype on iOS and Android)
- Framer Cloud (share a link to a Framer prototype)
- Sound effects, music, and video playback
- Animation tools
- So much more!
Try it out yourself!
In our Intro to Prototyping with Framer workshop, we walked through several basic tasks and created an interactive prototype for Zeitbook, a simplified Facebook mobile app clone. These tasks include:
- Creating a scrolling screen
- Adding page-to-page links
- Using state transitions
- Working with variables
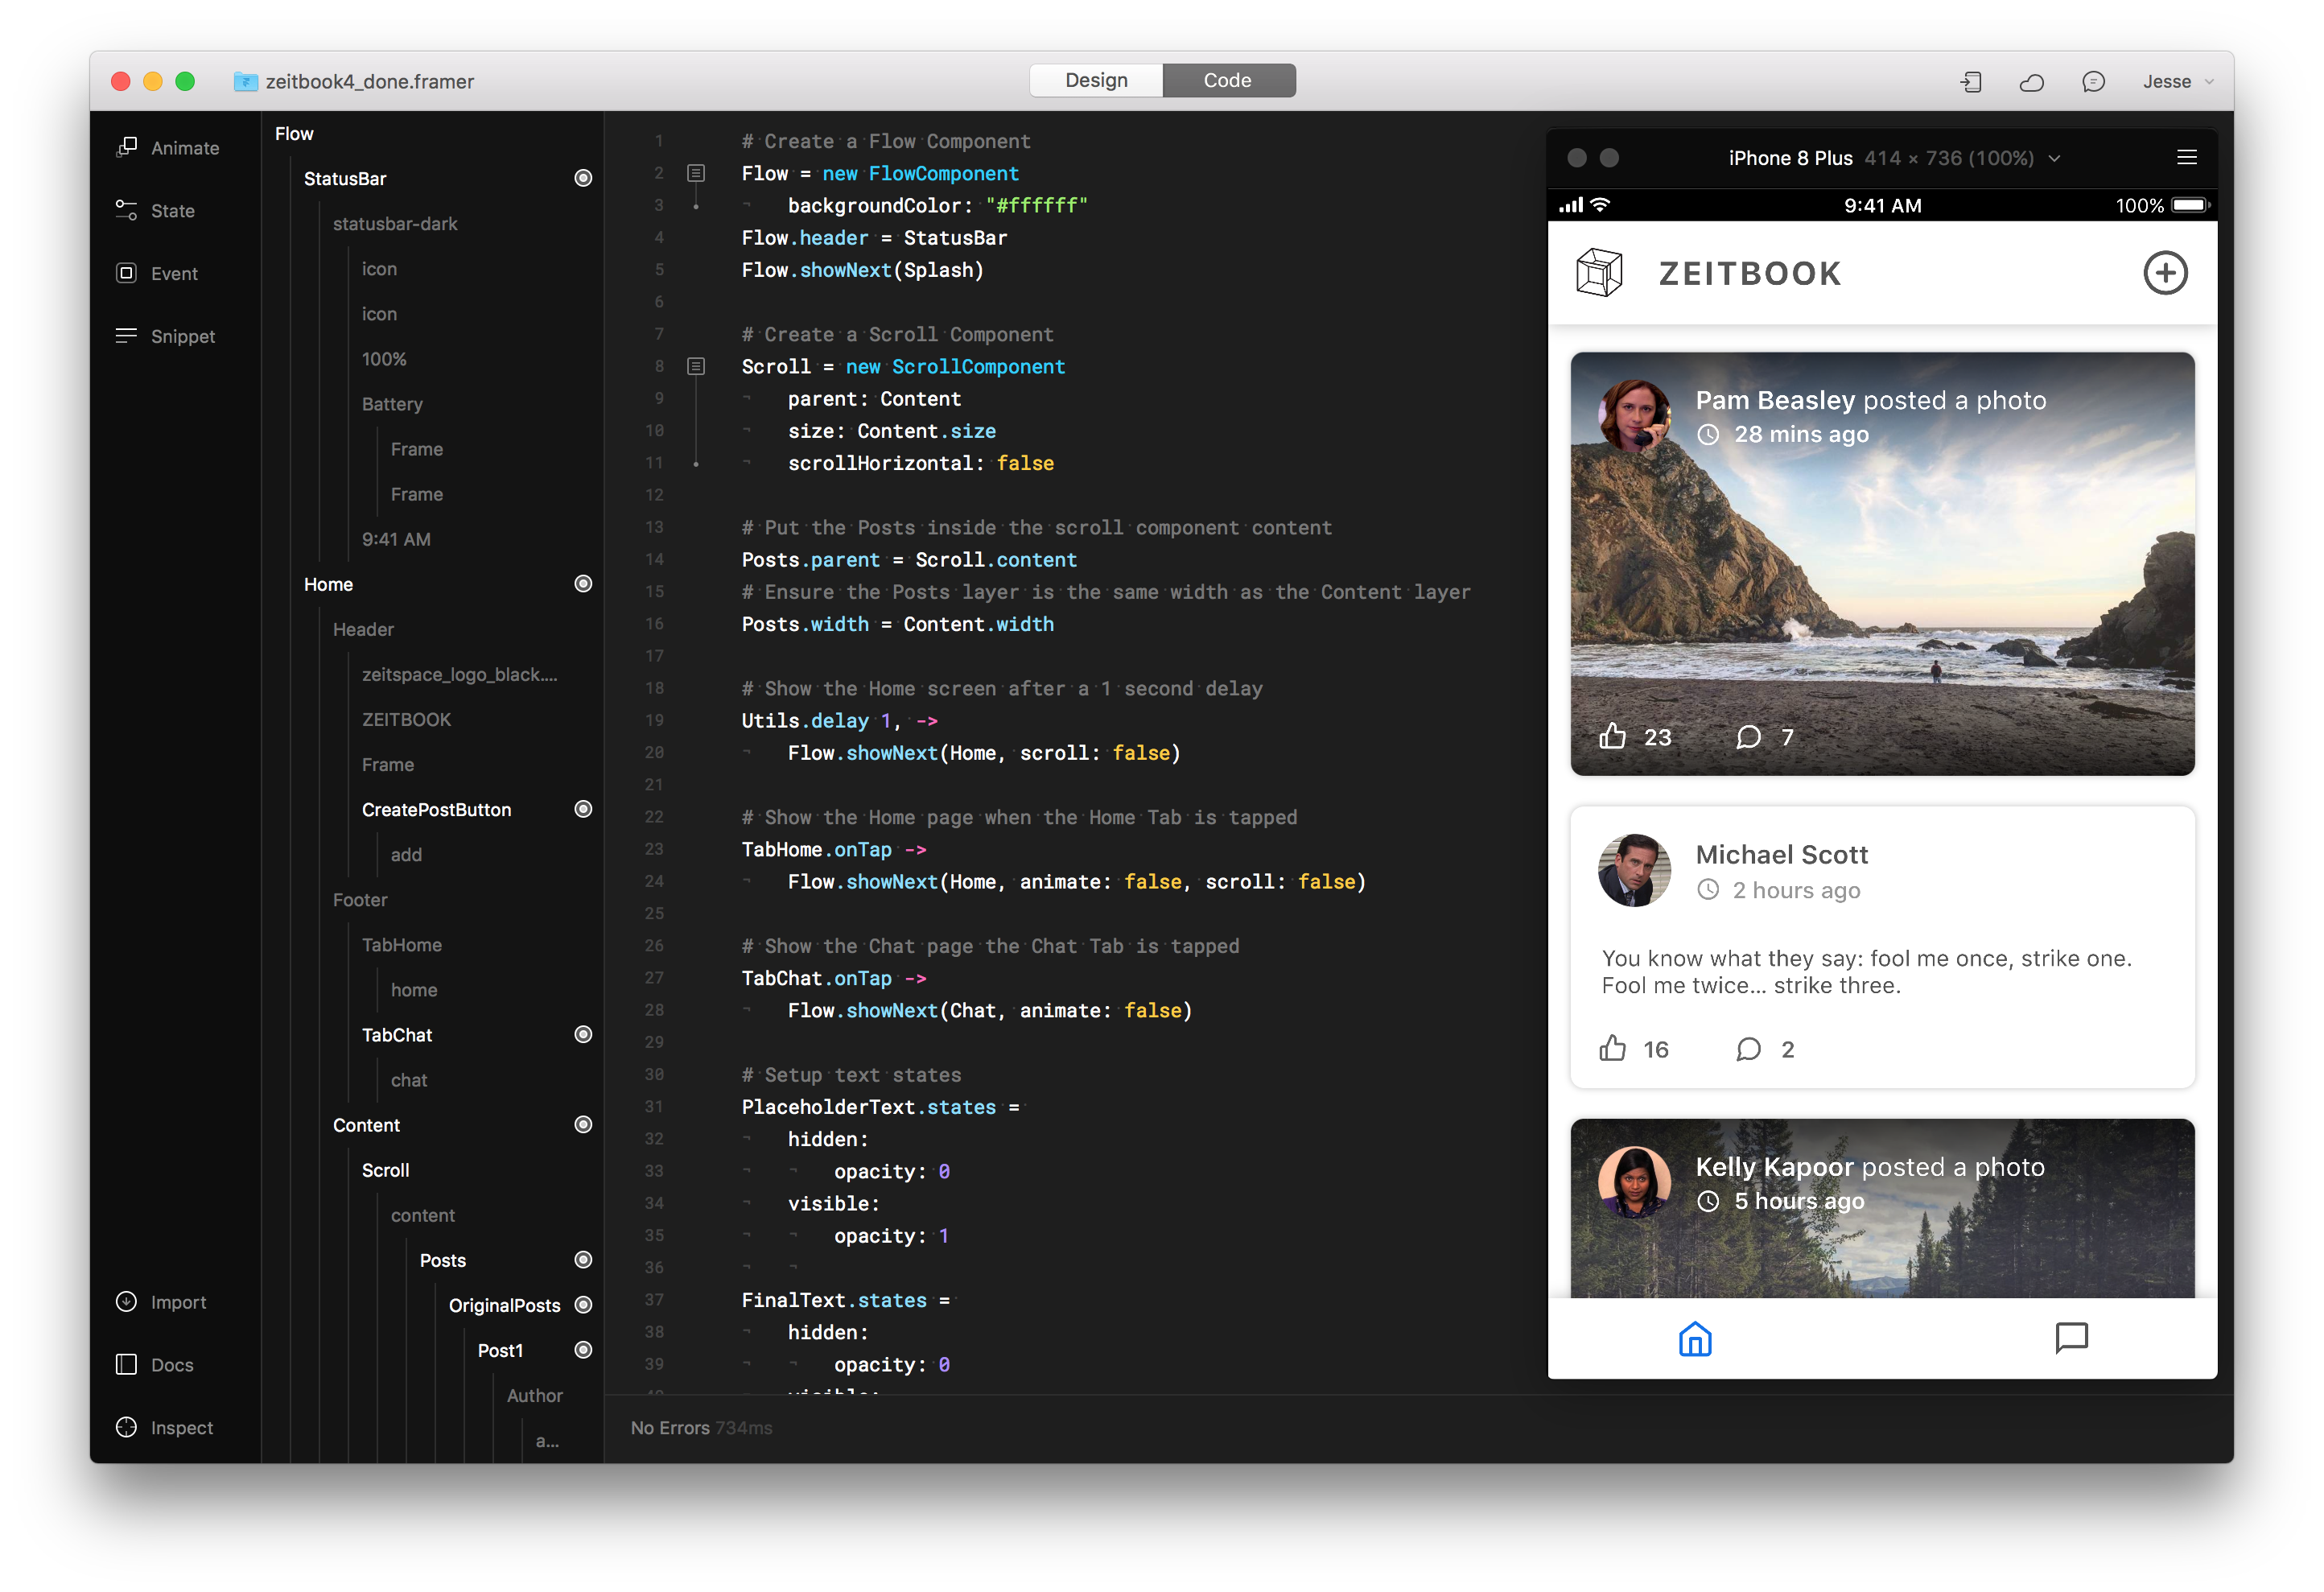
.png?width=770&name=1_GCTxKlvYHmv6q1Ghur1G3A%20(1).png) Zeitbook is ready to be the Next Big Thingᵀᴹ
Zeitbook is ready to be the Next Big Thingᵀᴹ
Our workshop guide below will walk you step-by-step through the process of creating Zeitbook from the comfort of your own laptop.
Follow along with the steps in our workshop guide to create your very first interactive prototype in Framer:
Happy prototyping!